

A strong West Melbourne listing launch is built well before the first buyer walks through the door. This checklist helps sellers focus on the details that shape online first impressions, make showings easier to manage, and support a more organized offer-review process. Small repairs, clear surfaces, thoughtful photos, and a ready-to-share property file can create a noticeably smoother experience from day one.
Begin With the Outside View
Most buyers encounter a home online before they see it in person, and the exterior image is often their first cue to keep scrolling. Before photographs are scheduled, take a slow walk from the street to the front door. In West Melbourne, where bright sun, afternoon rain, and lush landscaping can quickly reveal maintenance needs, a fresh exterior review can make a meaningful difference in how the property presents.

Start with the practical items: pressure-wash the driveway and walkways if needed, clear leaves from gutters, replace damaged screens, and make sure house numbers are easy to see. Trim back plant material that blocks windows, pathways, or exterior features. A clean entry light, a working doorbell, and a front door that opens smoothly are simple details, but they help the arrival feel cared for rather than rushed.
Look beyond the front elevation as well. Pool areas, patios, fenced yards, side gates, and outdoor storage should be neat and accessible for photography and showings. Remove visible hoses, bins, broken planters, and excess yard equipment. If the home has hurricane shutters, a generator connection, irrigation equipment, solar panels, or a screened enclosure, make a note of their condition and gather any available documentation before marketing begins.
The goal is not to make every space look brand-new; it is to help buyers see the property’s layout, maintenance, and outdoor potential without visual distractions competing for attention.
It can also help to view the home at the same time of day the photographer will arrive. Notice where sunlight lands, which rooms feel brightest, and whether window coverings should be opened or adjusted. Your agent and photographer can use those observations to plan an efficient photo session that highlights the home naturally.
Prepare Interiors for Photos That Tell a Clear Story
Photography works best when each room has a clear purpose and enough open space to read easily in an image. Sellers do not need to erase every sign of daily life, but reducing visual volume lets room dimensions, storage, natural light, and architectural details take center stage. Begin with the rooms that carry the most decision-making weight: the entry, living area, kitchen, primary bedroom, bathrooms, and any flexible space.
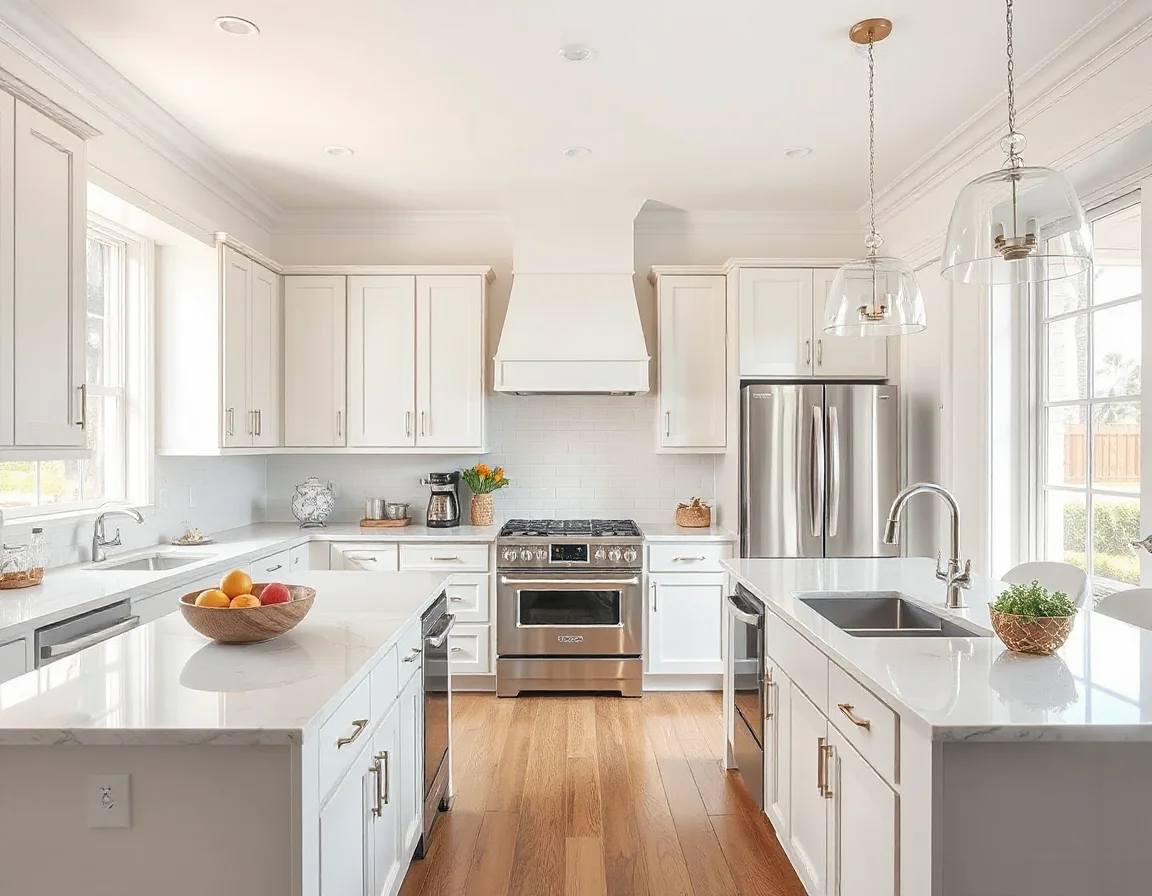
In the kitchen, clear countertops as much as possible and store small appliances, pet items, mail, and cleaning supplies. Wipe cabinet fronts, polish fixtures, and check that all bulbs match in color and brightness. In bathrooms, remove personal toiletries, close toilet lids, hang fresh towels, and keep surfaces simple. These changes do not alter the home itself; they simply make it easier to notice the finishes and function of the room.
Bedrooms and living areas benefit from the same edit. Make beds with neutral linens, remove excess furniture that narrows walkways, and tuck charging cords out of sight. If a room is used for multiple purposes, choose the function you most want buyers to understand and stage it accordingly. A spare room can be presented as a workspace, hobby room, or guest room, as long as the arrangement is tidy and proportionate to the space.
Before the photographer arrives, turn on interior and exterior lights, open blinds where privacy allows, and move vehicles from the driveway if requested. Keep window glass clean, replace burned-out bulbs, and set ceiling fans to a still position. During the appointment, plan to be off-site with pets whenever possible so the photographer can move efficiently through the home.
A photo-ready home is also showing-ready: once the major decluttering is done, daily preparation usually becomes a short reset instead of a last-minute scramble.
Create a Showing Routine You Can Repeat
Showings often happen with limited notice, so a repeatable routine can reduce stress. Keep a basket or tote available for mail, remotes, charging cords, and daily-use items. A quick checklist near the door can include opening blinds, turning on lights, putting away pet supplies, wiping kitchen counters, and checking that valuables and medications are secured.
Comfort matters, too. Set the thermostat to a reasonable temperature, avoid strong fragrances, and allow the home’s own clean condition to do the work. Fresh air and a neutral presentation tend to photograph and show well without overwhelming the space. If there are areas that require special access instructions, such as a detached structure, pool gate, attic access, or smart-home feature, share those details with your agent in advance.
It is also wise to prepare for showings by organizing records that may answer common questions. Useful materials can include utility information, a survey if available, warranty paperwork, permits, receipts for major improvements, HOA or condominium documents when applicable, and manuals for appliances or systems that will remain. These items do not need to be displayed during a showing, but having them ready can make follow-up conversations more efficient.
Get Ready Before an Offer Arrives
The offer stage moves more smoothly when sellers have discussed their priorities before there is a deadline on the table. Price is important, but it is not the only term worth considering. Financing type, requested closing date, deposit amount, inspection timeline, appraisal terms, contingencies, and requests for personal property can all affect the strength and practicality of an offer.
Take time before launch to identify what flexibility is realistic for your schedule. Consider preferred closing windows, whether a leaseback or later possession might be needed, and which fixtures or items are intended to remain with the home. If you have made recent repairs or improvements, collect invoices and permits so they can be provided accurately when appropriate. Clear documentation supports informed decisions and helps avoid unnecessary back-and-forth later.
When offers arrive, review the full package rather than focusing only on the headline number. A higher offer with extensive conditions may not serve the same goals as a well-supported offer with a workable timeline. Your agent can help compare the terms, identify deadlines, and prepare a response that reflects your priorities while keeping the transaction moving forward.
Search West Melbourne listings
A Calm Launch Starts With a Practical Plan
Selling a home involves many moving pieces, but preparation gives you more control over the process. Start with condition, presentation, and documentation; then create a simple routine for showings and discuss offer preferences before the listing goes live. That preparation allows the home to be presented clearly and gives you a steadier foundation for each decision that follows.
For West Melbourne sellers, the most effective checklist is one that fits the actual property and timeline. Focus on the repairs that matter, the spaces buyers need to understand, and the records that can support a confident transaction. With those pieces in place, photos, showings, and offer review can feel far more manageable from start to finish.